|
GoPro underwater monopod setup
By Paul Illsley
Have you ever wanted to just jump into the water and start taking pictures without all the hassle of focusing, chasing after those elusive fish darting away as soon as you get close or trying to pick just the right second to take that great shot? Well I did, so I decided to make a rig that would make my life easier and my underwater photography more fun.
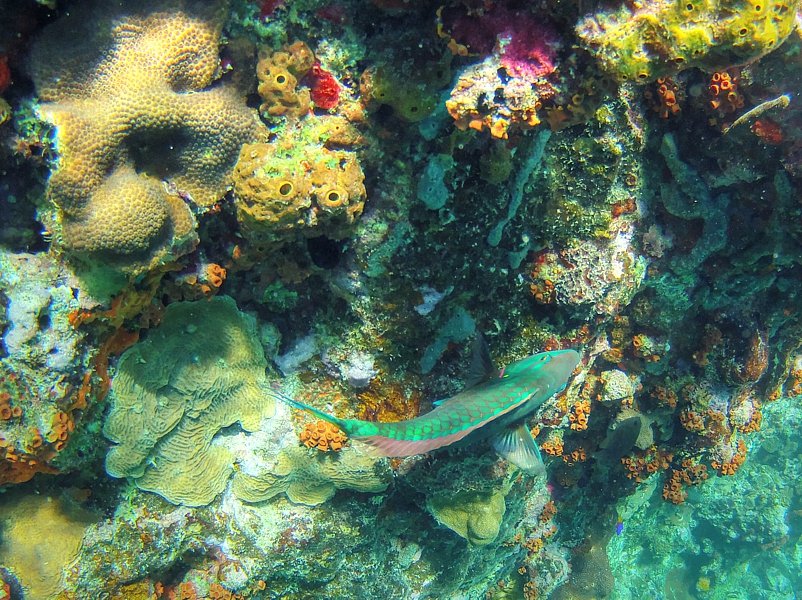
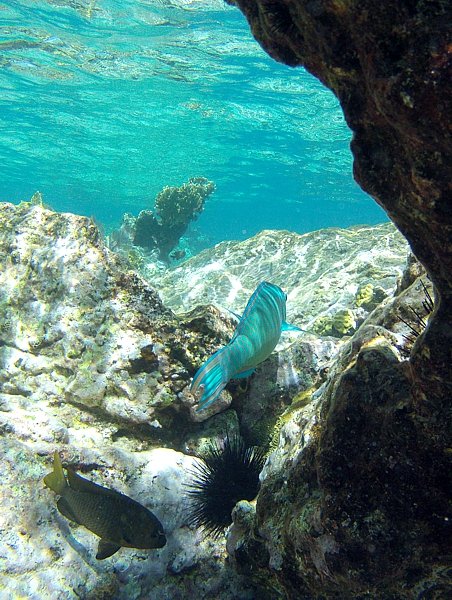
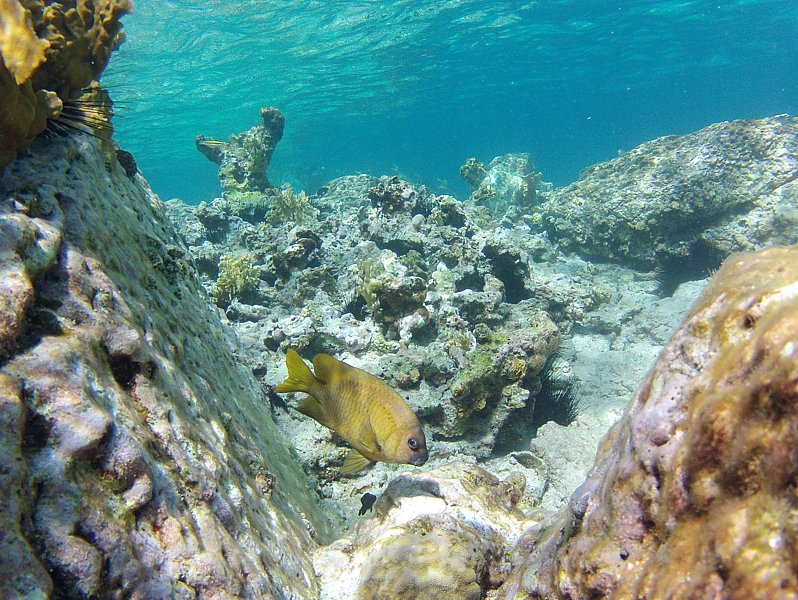
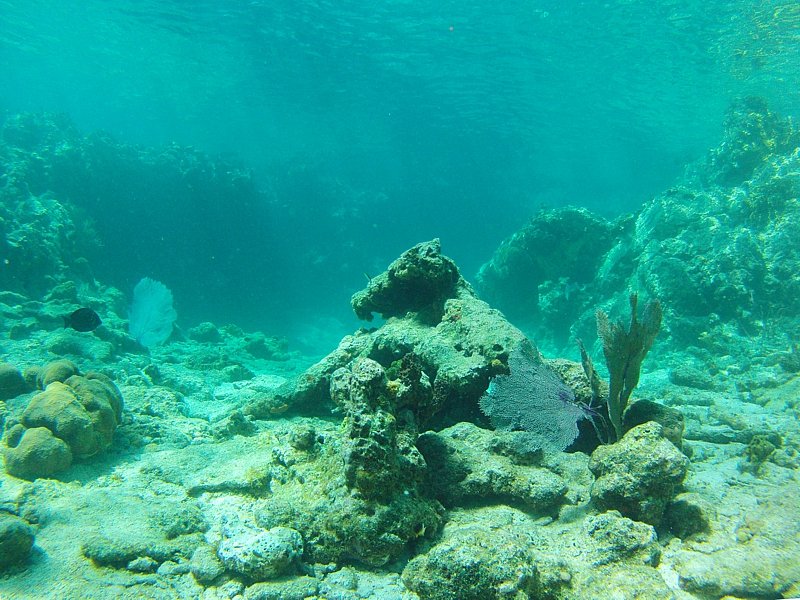
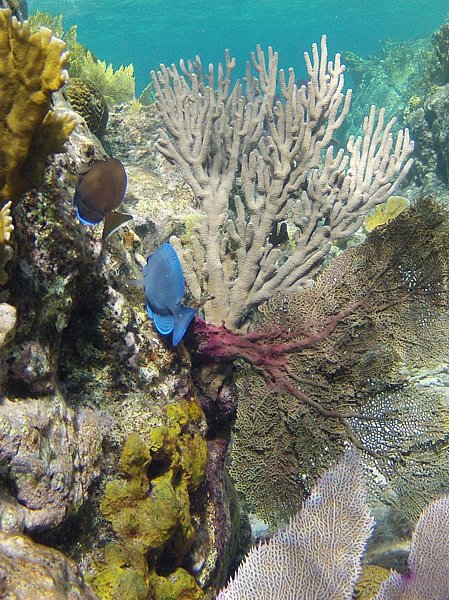
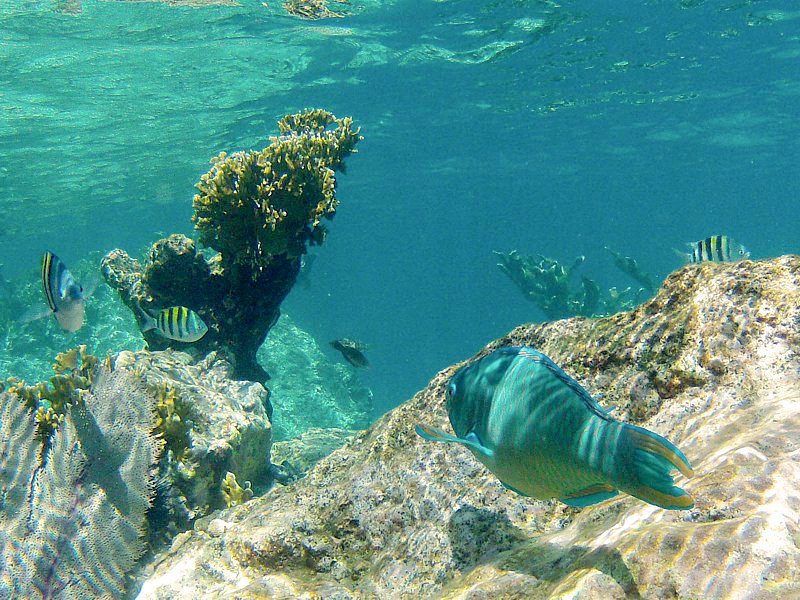
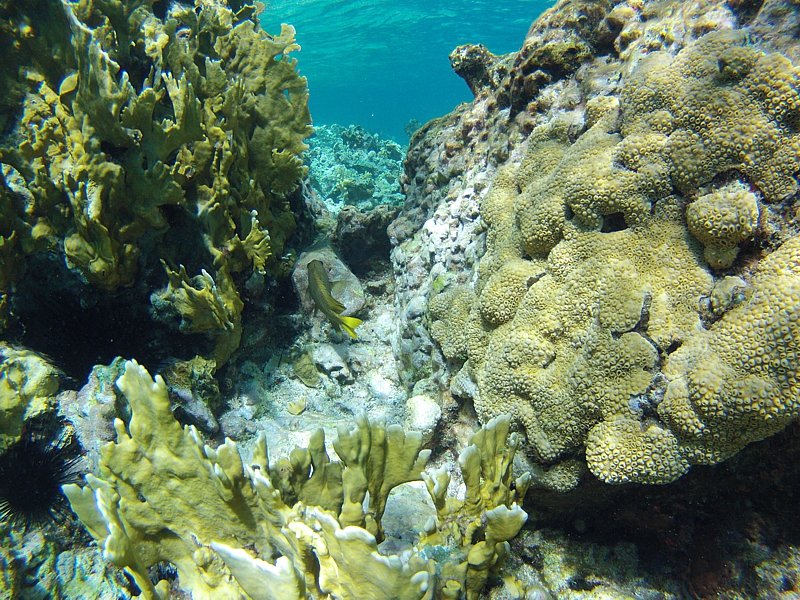
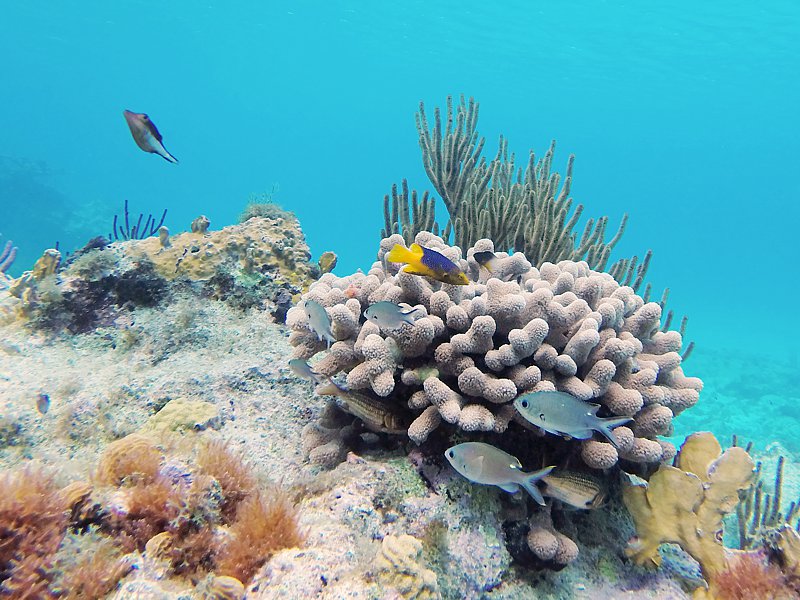
All images on this page were recorded with this GoPro setup (around The Indians in the British Virgin Islands).
To view more images click HERE.
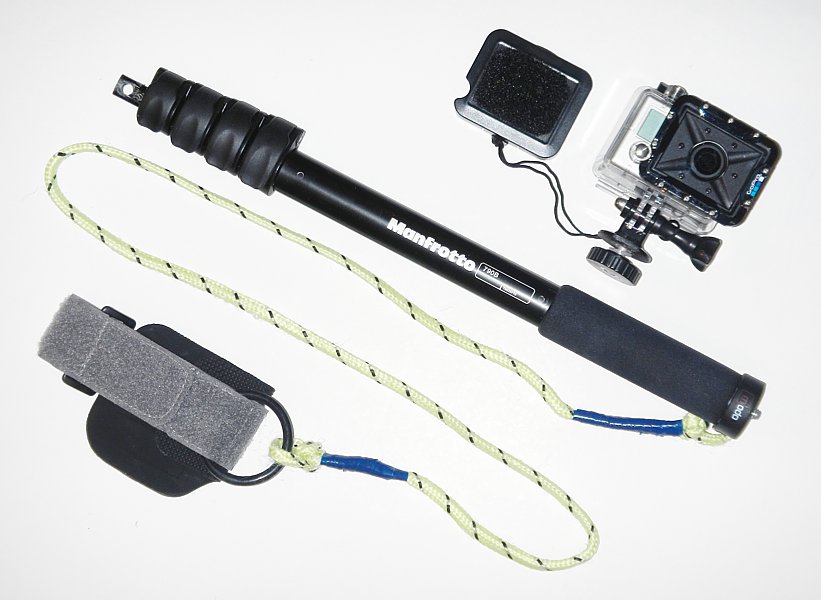
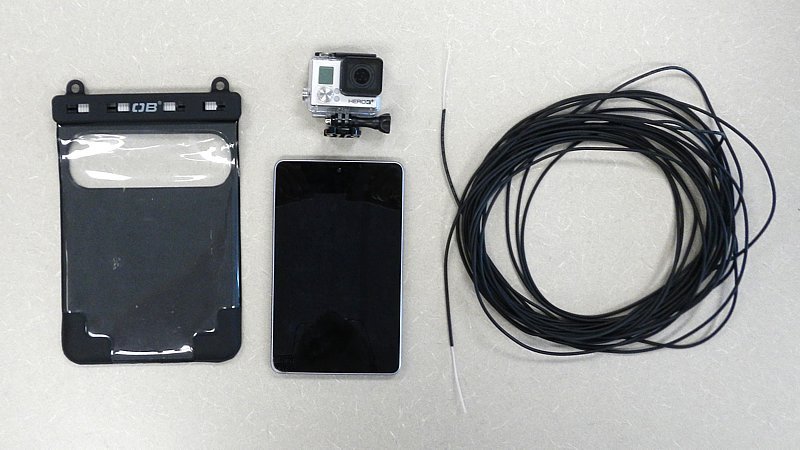
Itĺs actually a pretty simple solution; I picked up a GoPro camera with an underwater housing (with a flat port, not the standard dome port) and attach it to the end of a lightweight monopod. The camera I chose was a GoPro Hero2 and the monopod was a lightweight Manfrotto 790B (39 cm closed, 146 cm expanded). I attached a strip of adhesive backed Velcro to the front of the lens cap and the back of the camera housing to keep the lens cap secured when recording images.

I removed the tiny rubber foot pad on the bottom of the monopod and flattened the tube with a hammer (donĺt try this with a plastic or carbon fiber monopod, it will just crack). Then I drilled a ╝ inch hole through the flattened end so I could attach the GoPro camera. I used the GoPro camera tripod mount and a ╝ inch stainless steel bolt to secure the camera to the monopod through the drilled hole (I added a washer to help make it tight). I also drilled two small holes in each segment of the monopod so the water and air could escape.
Once the camera is attached to the end of the monopod it can be tilted forward and sideways to get any angle you might want. Itĺs often nice to have the monopod pointing vertically and to have the camera pointing 90 degree so it is recording images horizontally. Or you might want to have the camera pointing forward (or sideways) as you follow a turtle or fish through the coral or across the flat sandy bottom.
Once I had the camera attached I needed to secure a soft and flexible safety cord in case I inadvertently drop the setup in deep water. I chose to make the cord length almost the same length as the the fully extended monopod (about a meter) so I could move my grip up monopod close to the camera if I wanted, this length also allowed me to lower the entire monopod and camera setup deeper into the water. The safety tether was attached to my wrist with a Velcro wrist strap.
So how do you take pictures when the camera is extended far away from you? Fortunately the GoPro Hero2 camera has an option of recording images at set intervals so I set it to shoot one 10 megapixel image every 0.5 seconds and just let it do its thing. I set the exposure meter on the spot meter setting so it didnĺt get fooled by any stray light on the edge of the image and I set the camera orientation to upside-down mode because the camera was set to hang below the monopod (upside down) when it was in a normal horizontal position.
I placed a 32 GB memory card in the camera (giving about 50 minutes of continuous recording @ 2 frames a second), added an extra backpack battery in case I was out for a long time (you wonĺt need this extra battery if youĺre going out for less than a couple hours) and headed out on the boat.
When I was ready to hit the water I turned on the camera, started taking pictures, and jumped in to have fun exploring. One nice thing about the GoPro is its wide angle lens (even though it is less wide angle underwater than it is above water). This allows you to point the camera at your object of interest and follow it as you swim while having a good chance of keeping it in the frame. Because the camera is continually taking images at a rate of 2 frames a second your chances of getting a good shot is pretty high. You may need to crop and rotate the images when you get home but thatĺs not a big deal if you get the shot you want and you just delete the images you donĺt need.
A couple things to remember; try and have the sun behind you; this gives better color, try and photograph the fish or object from the side or below and not from directly above, and be slow and patient; I found that fish are less timid if you move the camera slowly. The fully extended monopod allows you to get the camera closer to your subject than you normally ever could. Itĺs good to slide the camera into an area and wait until the fish return to their natural activities. Try and add something in the image to give a sense of depth (foreground, middle and background).
Even though the system is handy for recording lots of great images (you can even get a red/orange filter for recording those deep water shots), it isn't the perfect choice for every situation. The GoPro camera isn't great at recording objects that are less than a foot away (25 cm) so forget those close-up shots. The GoPro doesn't have a flash, though you could add lights, and you can't override the White Balance setting or shoot in RAW mode. If you aren't concerned with these things this setup might just be what you need - it certainly worked well for me.
To view more British Virgin Islands (BVI) images click HERE
UPDATE
View images I recorded with the same setup expept with a GoPro Hero3+ and a 20 foot cord.
View more Curacao Images
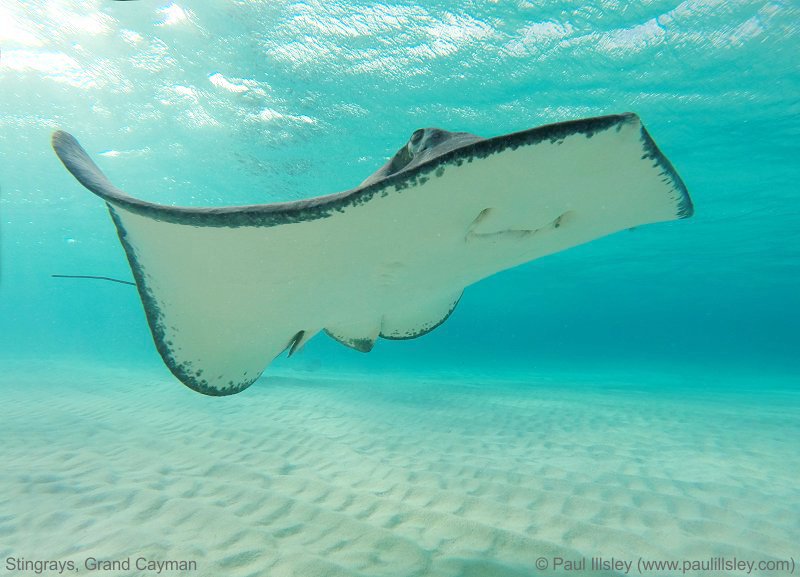
View more Stingrays in the Grand Cayman Images
Find out how to use your GoPro as an underwater inspection device (use WiFi underwater), click HERE
For more information contact Paul Illsley

|