by: Paul Illsley
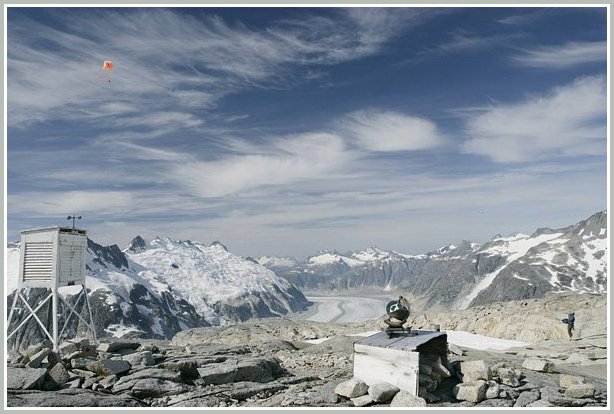
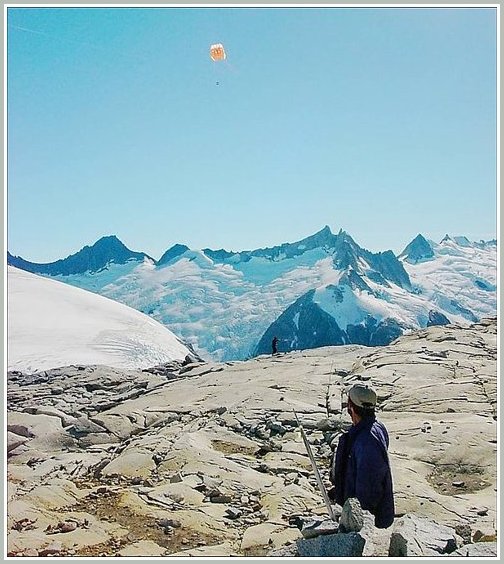
Author (lower right) flying a kite camera (upper left) over a glacier in Alaska.
by: Paul Illsley
Author (lower right) flying a kite camera (upper left) over a glacier in Alaska.
What camera should you choose? Recording digital aerial images from a kite or balloon is actually very simple. All you need is a lightweight digital camera with a timelapse recording feature (many companies like Canon, Nikon, Olympus, Ricoh, and Pentax make cameras with this feature. Check out: http://www.dpreview.com for a listing of cameras with timelapse options). This allows you to attach the camera to the kite or balloon and have it record images by itself at preset intervals. This intervalometer makes the process simple and almost foolproof. If you already have a camera and it doesn’t have an intervalometer you have a couple of options. 1) Go with a radio control system that allows you to trigger the shutter release from the ground. This option works well but it is a bit clumsy when you are trying to control the kite or balloon and trigger the images at the same time. If you have two people, no problem. 2) If your camera has an infrared remote controller option, you might be able to purchase an aftermarket timer or trigger that fires the camera using the remote control receiver in the camera (http://www.gentles.ltd.uk/ , http://www.hexpertsystems.com/). These options give you the freedom to record images when you want without the weight and complexity of a servo setup to physically depress the shutter button on the camera. Saving weight is very important.
How to suspend the camera? You can try anything from wrapping the camera in bubble wrap and taping it to the bottom of the kite or balloon (which actually works pretty well), to creating an elaborate payload platform containing remote control servos and wireless video downlink systems. Somewhere in between is probably the best choice. Regardless of how much equipment you wish to lift it would probably be a good idea to have some way of keeping the camera vertical during the imaging process. Fortunately there is a wonderfully simple and elegant solution to this problem; it’s called a Picavet (shown below). A Picavet allows the camera to remain vertical even when the line it’s attached to is in motion. It works with a pulley and pendulum system and uses the mass of the camera as the pendulum to automatically level the camera platform during flight. It looks simple but it works great.
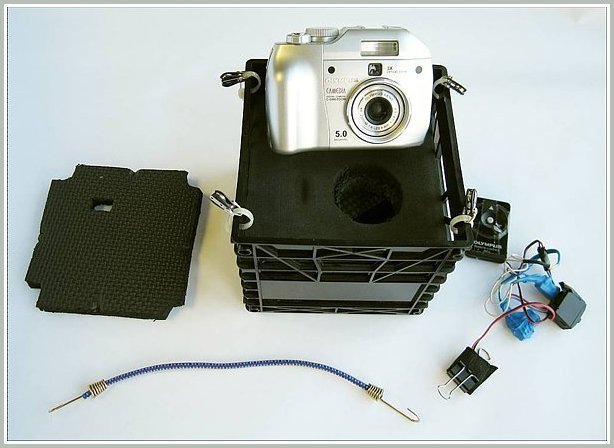

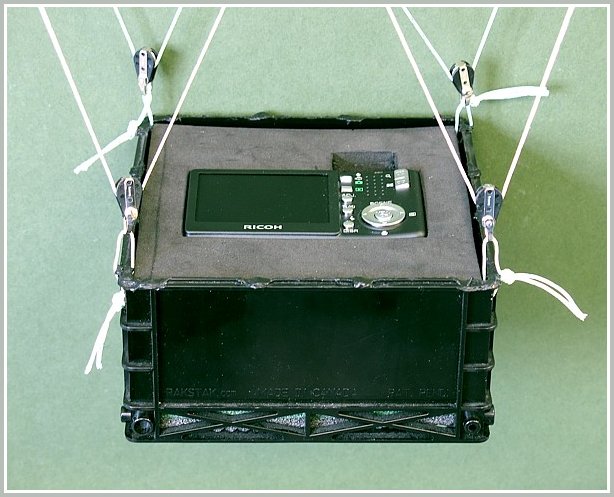

Diagram showing a method of suspending the camera system from a balloon using two tether lines.
Hot Air Balloons: There are two types of hot air balloons: solar heated and combustion heated. The solar balloons rely on the solar radiation from the sun to heat the air inside the balloon. Believe it or not, they actually work; in fact they can be big enough to lift people (http://perso.orange.fr/ballonsolaire/en-index.htm). You need a pretty calm day and bright sun but if you have these conditions it’s a pretty neat trick to get a camera in the air without any additional fuel source. The other option is a fuel powered hot air balloon. A simple lightweight camping stove suspended under a nylon envelope can heat enough air to get a light weight camera off the ground. I don’t go this second option because I don’t really like the idea of having a burning object floating around above me. The important thing to remember about hot air balloons is the lifting capacity depends on the difference in the warmth of the air inside the balloon compared to the outside air. The larger the difference in relative temperatures the better the lifting capacity of a given volume. So, hot air balloons have more lifting potential in cooler days than they do on hot days.
Hydrogen balloons: (don’t even go down this road). Although hydrogen is a safe fuel when handled properly and has great lifting potential, the safety concerns far outweigh the slight increase in lift compared with helium. I choose not to go the hydrogen route and I don’t endorse it.
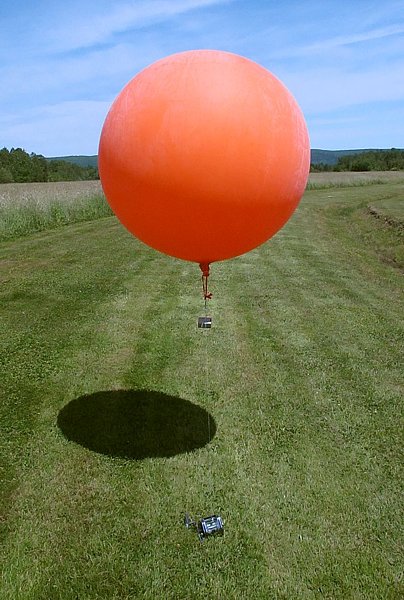
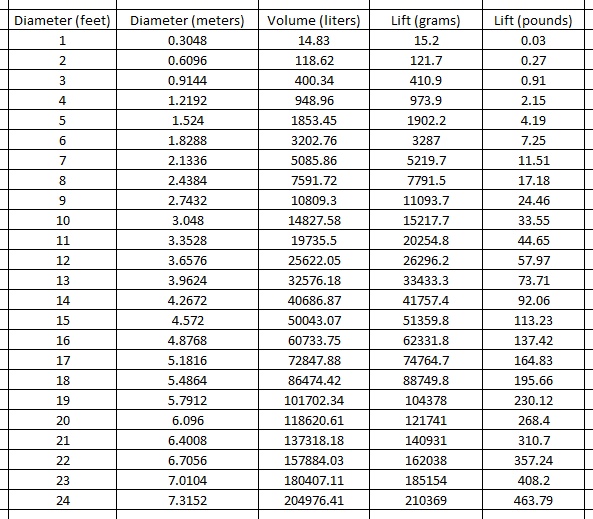
Helium Balloons: Now this is the way to go. Helium has nearly the same lifting potential as hydrogen but is much safer to handle. To calculate the volume (in liters) of helium required to lift a certain weight (in grams) simply multiply the weight by 0.9743640 . It’s always good to double, triple or even quadruple the amount of helium required to lift the entire camera assembly and balloon in order to make sure the balloon can fight against slight breezes. Helium can be purchased wherever compressed gas cylinders are sold, contact your local automotive parts dealer for the nearest compressed gas distributor. Be wary of the helium that’s designed for filling party balloons, these tanks may include other gasses in addition to the helium which will decrease the lifting potential. Check out: http://www.balloondealer.com/skybuster.asp or http://www.kaymont.com for large balloons.
Kites: These work great when you have steady wind. This statement might sound obvious but you’d be surprised how much wind it takes to get a camera up in the air. Gusting wind isn’t what you’re looking for; it’s the continuous sustained winds that work best. There’s nothing worse than having your kite and expensive camera lost in the forest or even worse having string draped from rooftop to rooftop or disappearing over the edge of a cliff with no camera and kite in sight due to the wind quitting mid flight (I speak from experience). Not only is this a huge headache, it’s a definite safety issue for all concerned. There are special kites like the Sutton Flowform (to name only one) which are used for lifting cameras and instruments. Here is a site that is probably the best resource on the web for aerial photography from kites: http://arch.ced.berkeley.edu/kap/ . Remember that the weight of the camera will effect the amount of wind it takes to lift the rig, if the specifications say it takes a certain amount of wind to fly the kite, be assured that it will take a lot more wind to get it in the air with the camera attached.
How high will I need to fly?
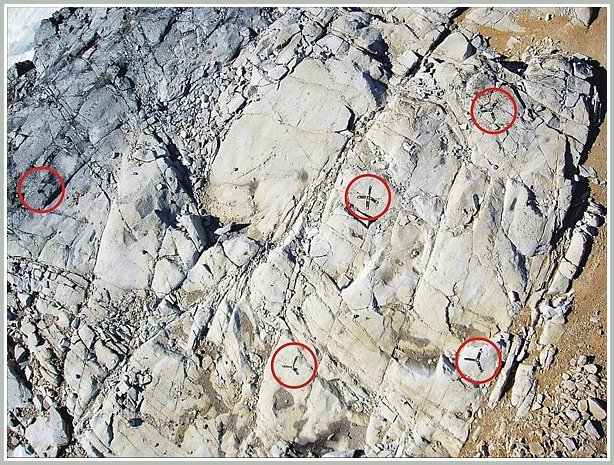
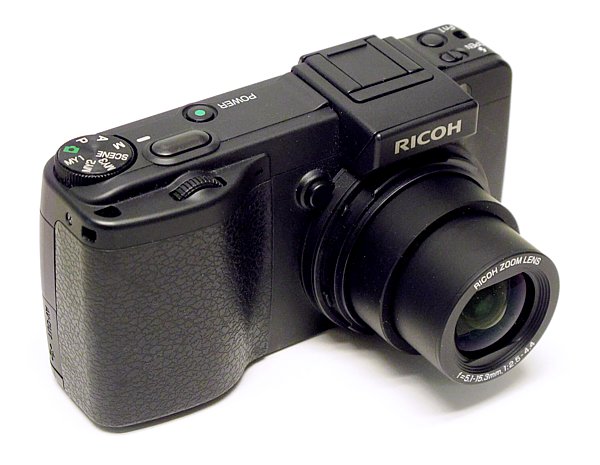
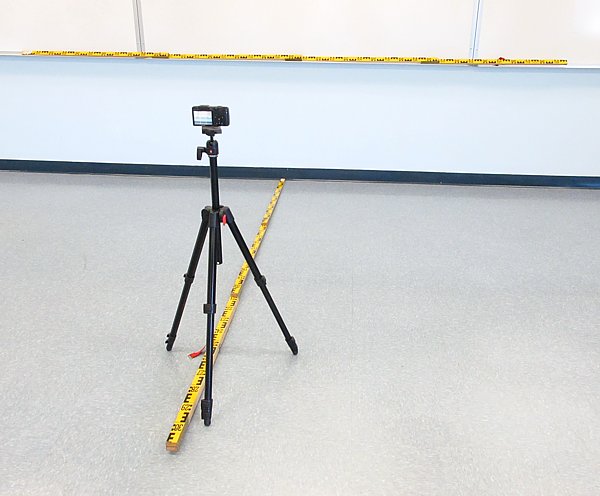
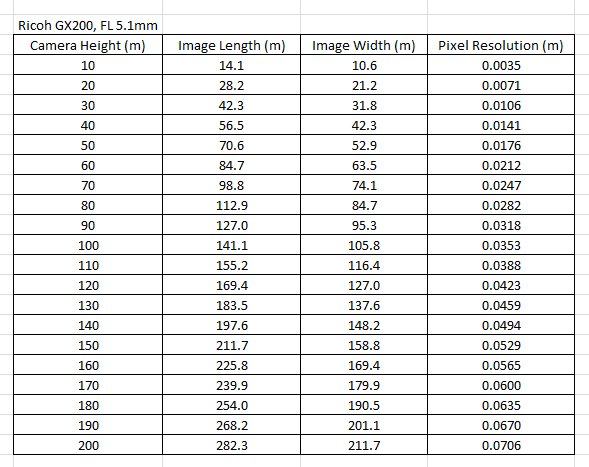
Every camera is different so the angle of view of the lens will need to be calculated. For this example I am using a Ricoh GX200 camera because of its light weight, great wide angle lens, high resolution sensor (4000 X 3000 pixels) and the inclusion of a useful interval shooting capability (a great camera for balloon and kite photography). This procedure is simple to set up and preform. All you need is a horizontal (or vertical) ruler that can be photographed (and read in the resulting image). Simply set up the camera so it is directly in front of (and perpendicular to) the measuring tape and make sure the tape extends beyond the edges of the frame. Measure the distance the camera is away from the tape (be accurate). Once you have recorded the image of the tape (at the default wide angle setting of the camera), determine the length of the tape that was recorded in the image. Take the length of tape in the image and divide it by the distance the camera is away from the tape and you will have the angle of view ratio for that camera at that wide angle setting (3.74 m / 2.65 m = 1.41132). Once you have this value (1.41132) you can multiply the flying height by this number to determine the length of coverage on the ground (assuming the camera is pointing vertically downward). To calculate the ground pixel resolution for a given height simply divide the length of the ground distance covered by the number of pixels covering the distance (14.1 m / 4000 pixels = 0.0035 m).
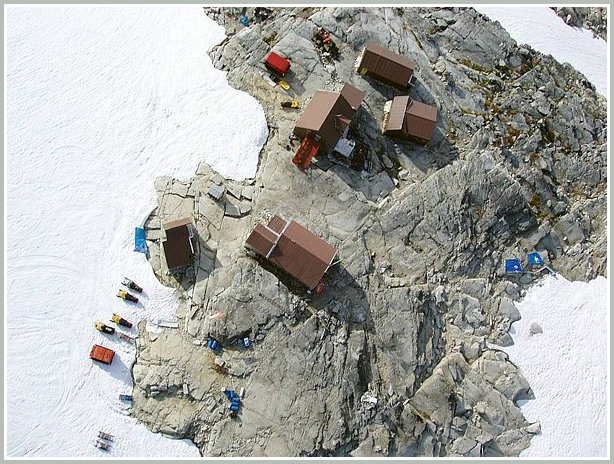
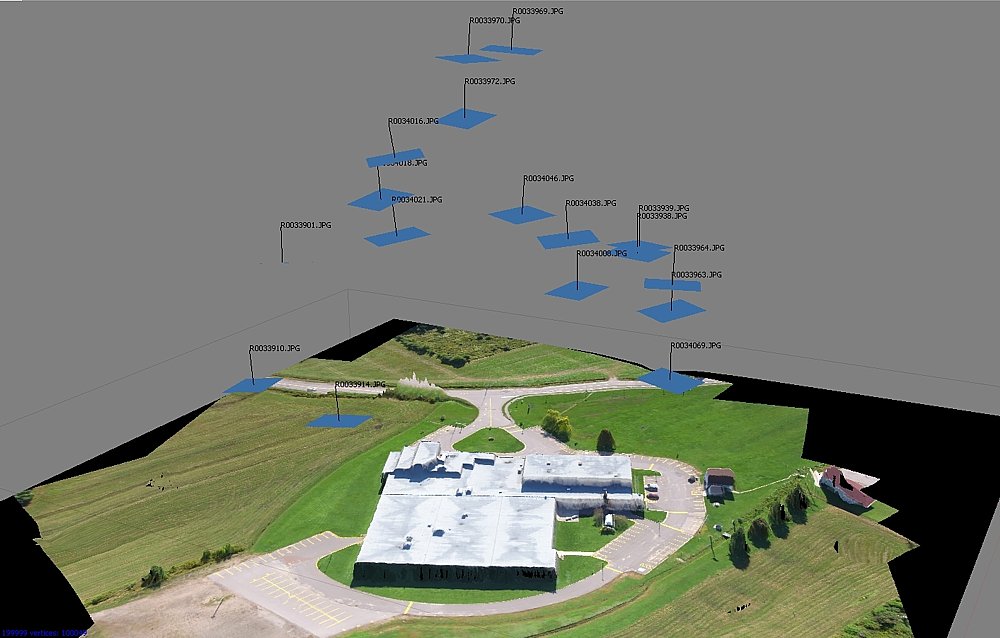
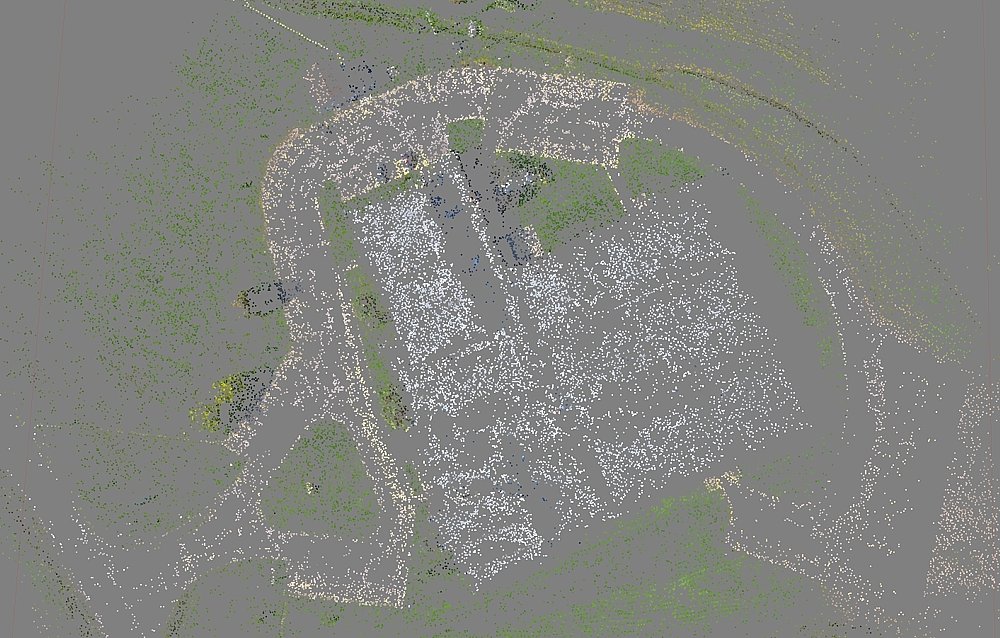
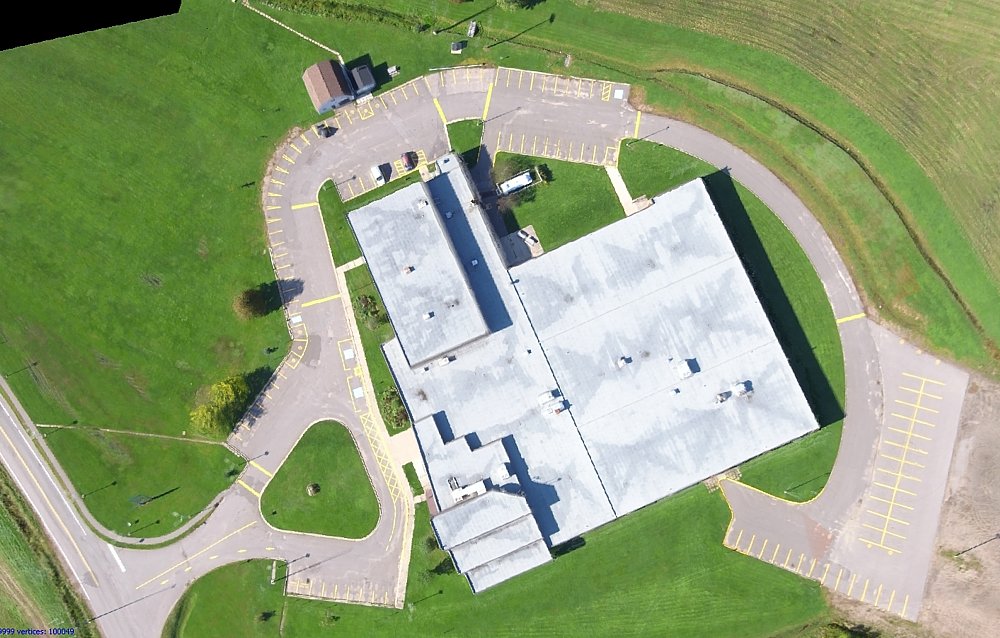
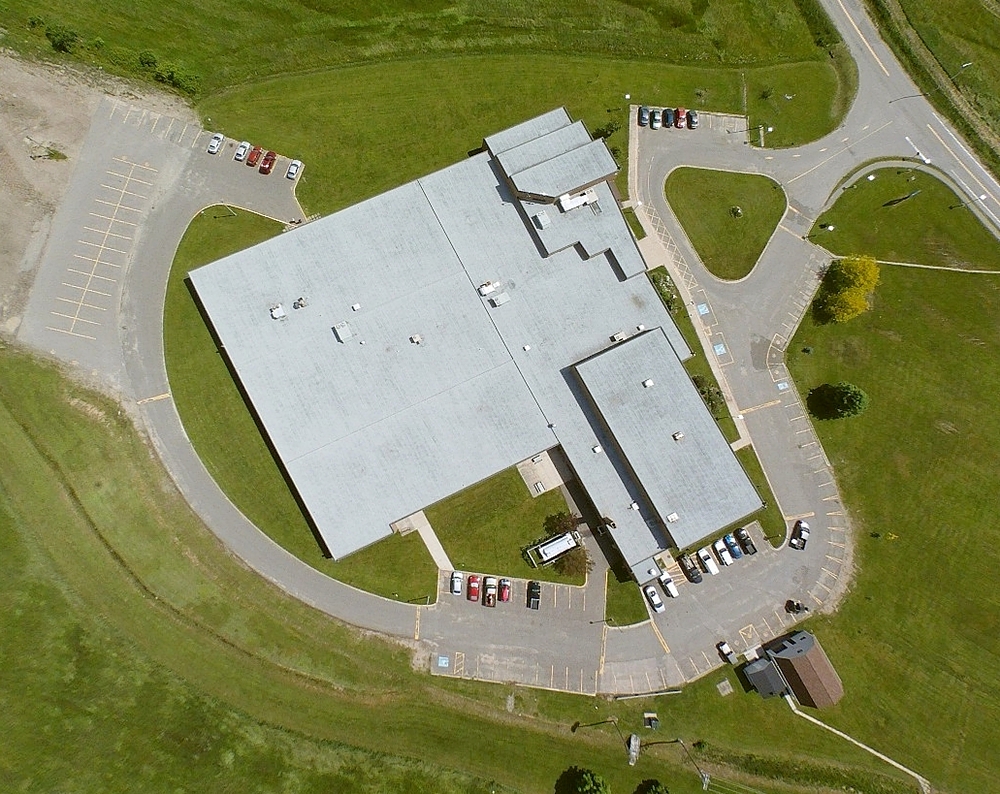
Creating a 3D model and image mosaic from numerous balloon borne areal images.
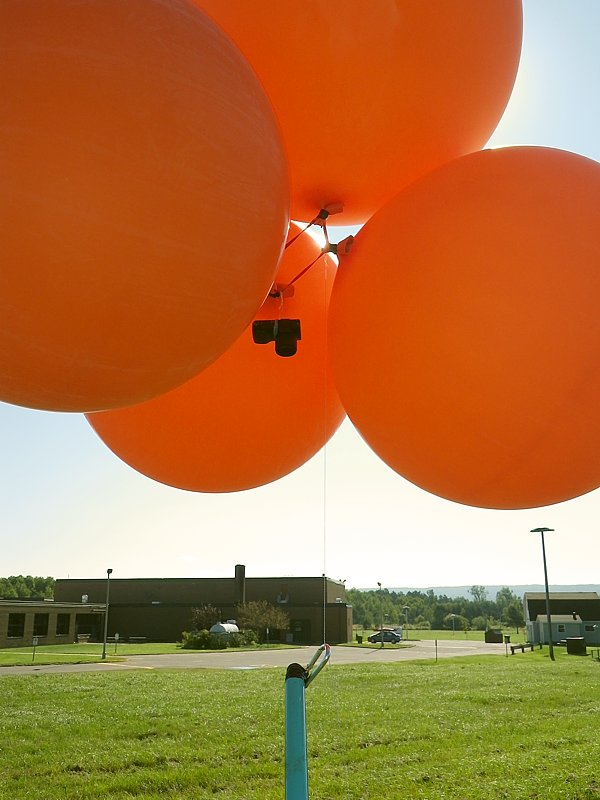
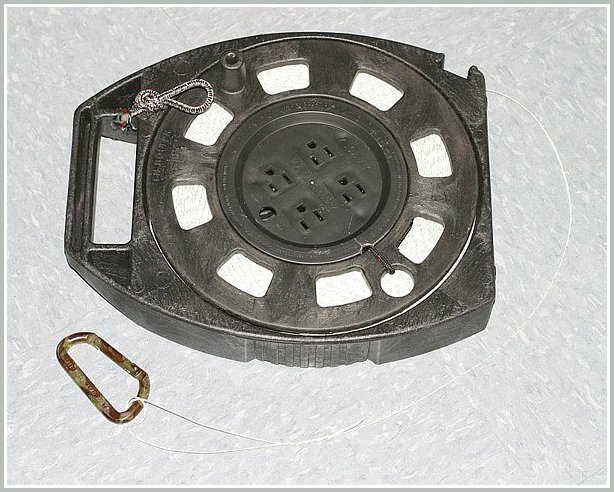
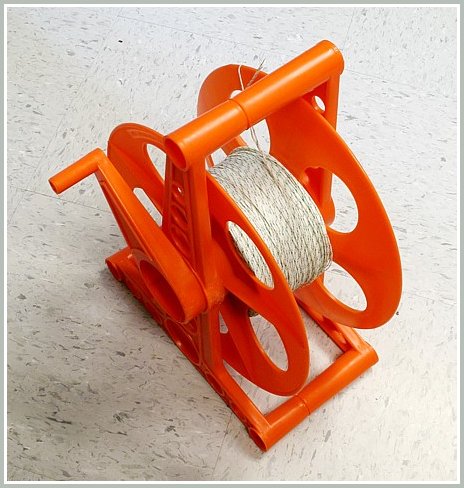
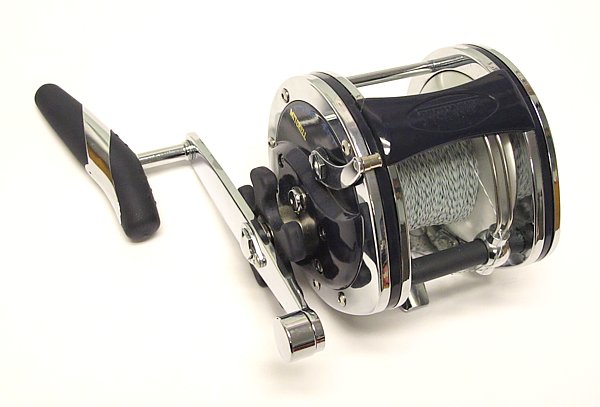
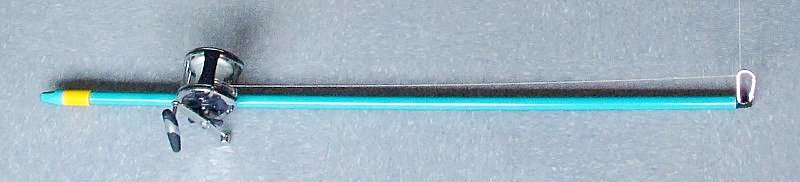
It is possible to send a camera aloft and record numerous images, then combine them to create a 3D model of your study area. First I chose to use the Ricoh GX200 because of its light weight, 5 second intervalometer, and distortion corrected wide angle lens. I attached 4 balloons (each about 1 metre in diameter) to supply sufficient lift and used the fishing pole and reel system discussed below. Once the images were recorded I used Agisoft PhotoScan (http://www.agisoft.ru/) to process the images. First all images were aligned and a point cloud was generated from items found in overlapping images. This point cloud was then used to generate a 3D model of the study area. Finally the images were combined (mosaic) and draped over the 3D model to create a geometrically correct image of the study area.
Generating a 3D model from your aerial images.

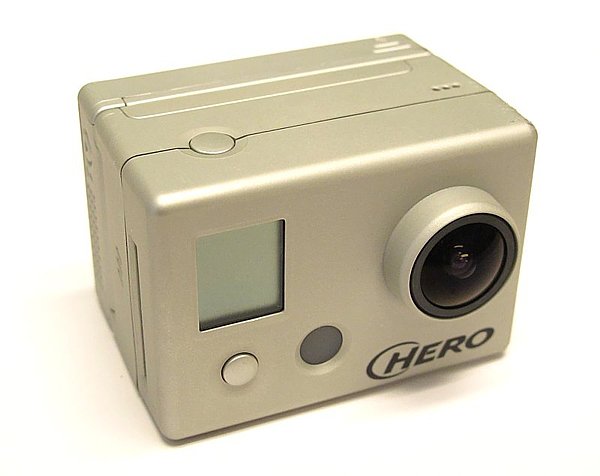
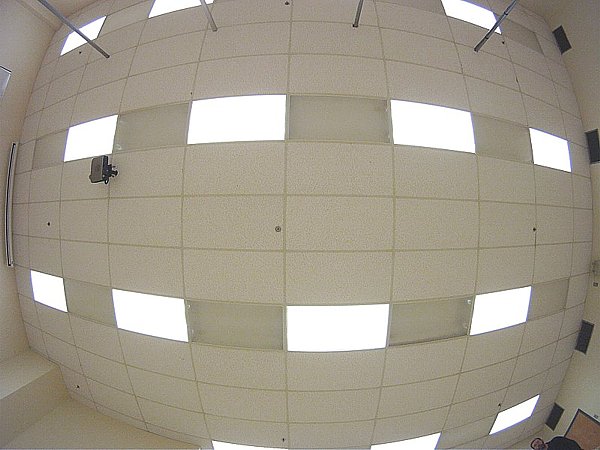
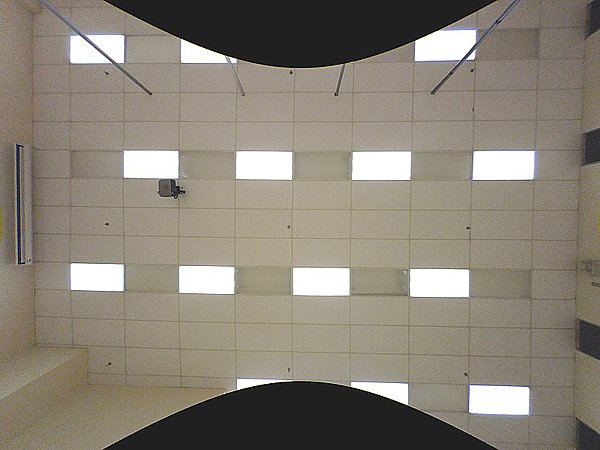
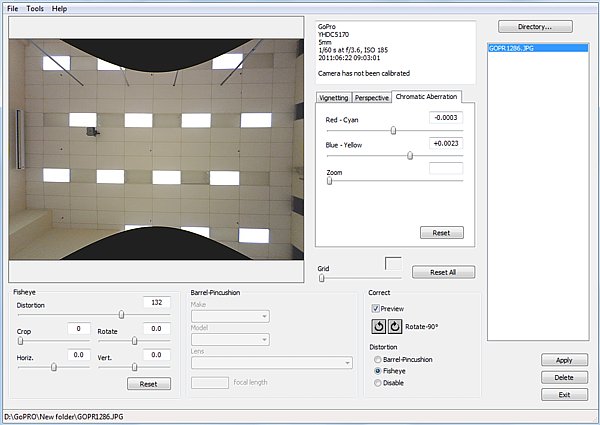
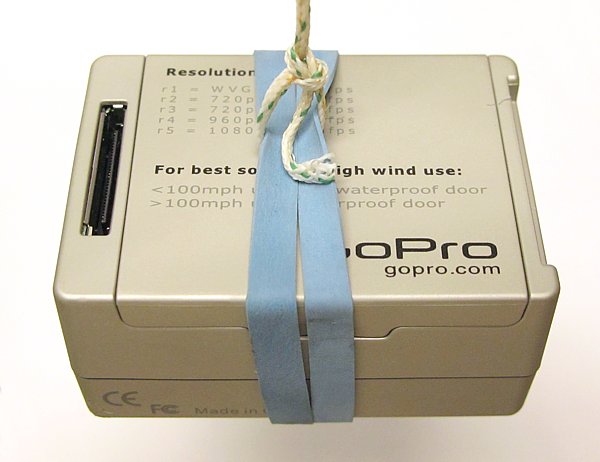
GoPro imaging: GoPro Hero HD
If you want something that is really light, small, easy to use, inexpensive, and has a good quality lens with an extremely wide field of view, this will do the trick. It records 1080p HD video or 2594 X 1944 pixels still images (5 Mp). It has the ability to record still images every second and it comes with a waterproof housing if you think you need it. As you can see from the example below the distortion is pretty intense but it can be corrected quite well. The angle of view for this camera is diagonal: 170 degrees, horizontal: 165 degrees, vertical: 160 degrees (values supplied by GoPro). It does record nice imagery and the wide angle lens allows you to image a large area without putting the system up too high.

GoPro Hero2 aerial imaging and mapping project from a light aircraft