
Sources of Satellite Imagery:
You can now save your image as a 16 bit per channel file (File / Save As) and choose .TIFF format.
Simply open a normal text document (Notepad would work) and write the information as follows:
Once you have entered this information, save the document with the same name as the image but with a .tfw extension if you are using a .tiff image, or a .jpgw extension if you are using a .jpg image.
This file must remain in the same folder as the image (move it with the image if you move the image) and it will only work if you have not resized, cropped or rotated the image.
A GIS software package will ask for the UTM Zone information when you import the image (in this case it was Zone 10 North).
About: Paul Illsley
Processing Satellite Imagery in Adobe Photoshop
(Adobe Photoshop Version: 23.2.1)
This step-by-step guide will lead you through the procedure of: importing Landsat grayscale bands as 16 bit images; creating an RGB color composite from three of these bands; applying simple enhancements to your newly created RGB image; and then exporting your final enhanced image in a format that is easy to work with (8 bit .jpg or .tiff).
 Study Area; Vancouver and the Gulf Islands, British Columbia, Canada.
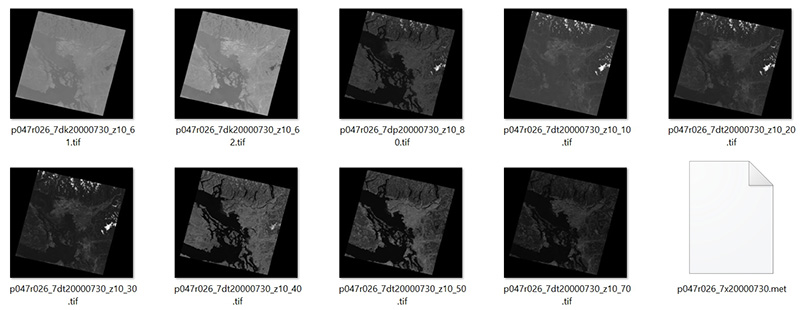
All of the grayscale Landsat 7 images (bands) for a single scene.
We will only be using the Red, Green and Blue bands for this demonstration.
Earth Explorer: https://earthexplorer.usgs.gov/
GloVis: https://glovis.usgs.gov/
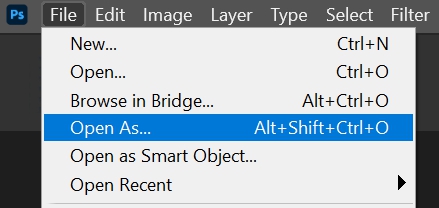
Open each image in Photoshop
(File / Open As).
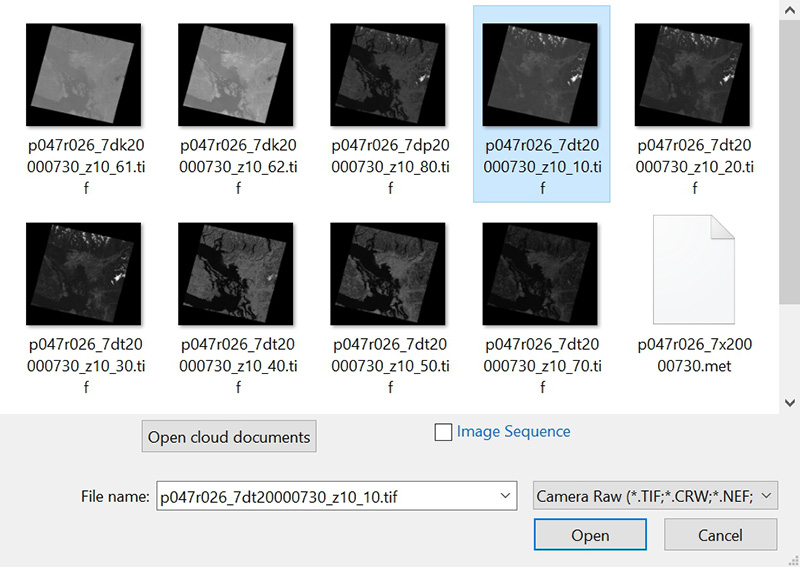
Select your image and then select "Camera Raw" as the opening option.
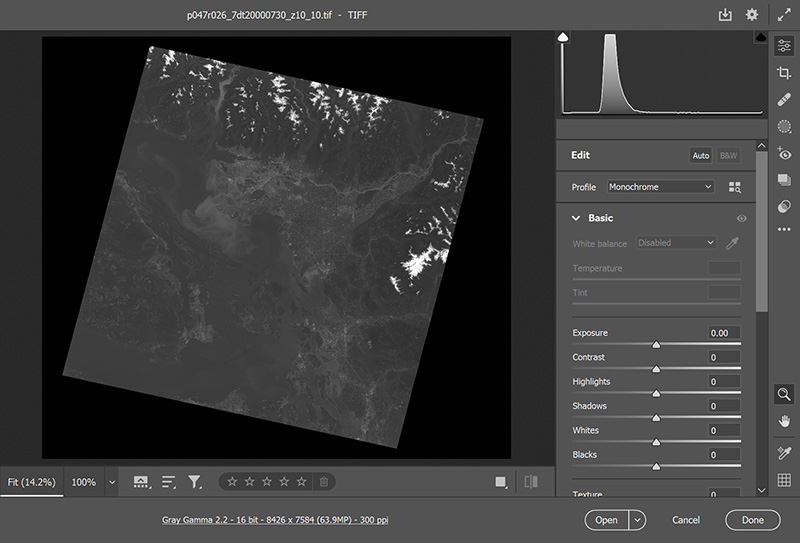
Once the image appears in the Camera Raw application make sure the information under the image indicates it will be opened as a 16 bit image (if it indicates 8 bit, click on the text and set it to 16 bit).
If it opens as an 8 bit image, you will loose a lot of the information contained in the original image.
Don't apply any enhancements at this point, enhancements will be applied later.
Click Open and the image will open in Photoshop as a grayscale image.
it might look dark but that's OK, we will enhance it later.
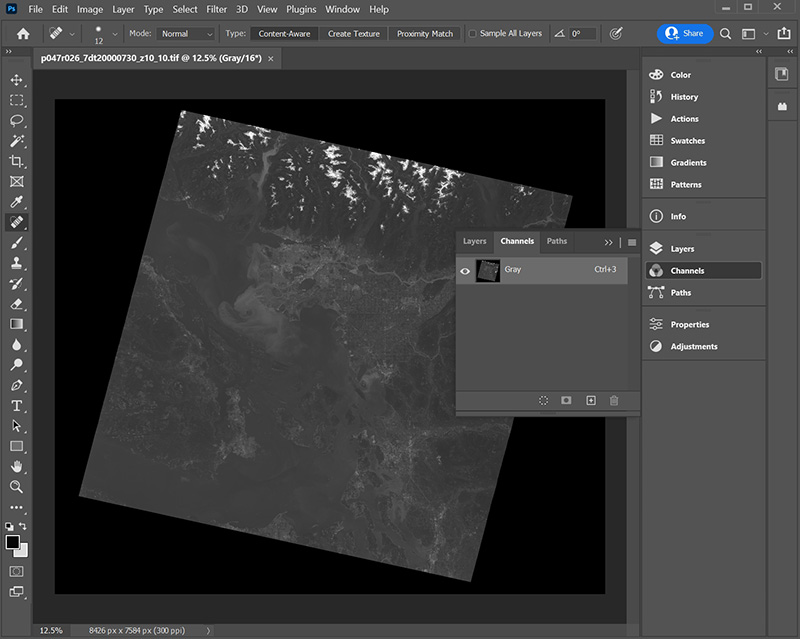
View of your single band opened in Photoshop.
Now open your remaining bands using the same procedure.
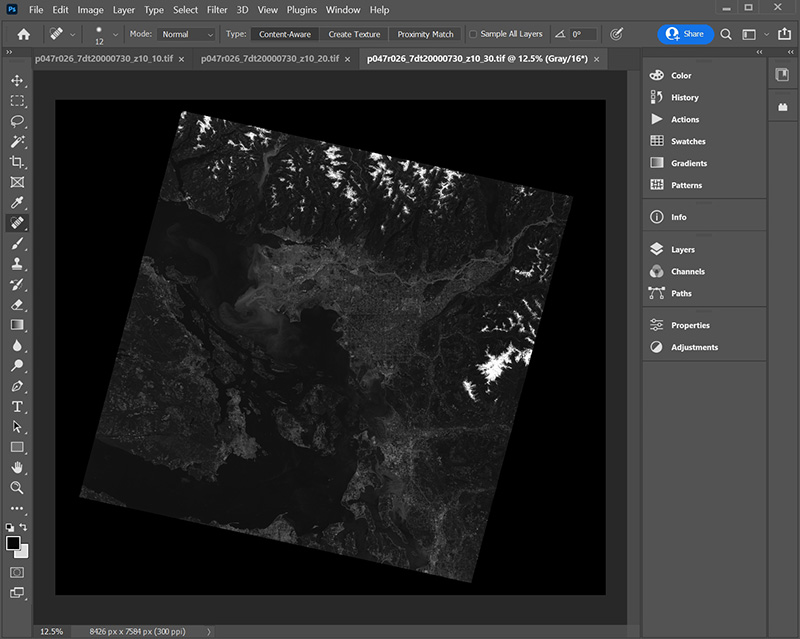
View of your three bands opened in one Photoshop session.
Now open the Channels dialogue box (on the right side of the application).
If it isn't visible you can access it by clicking Window / Channels.
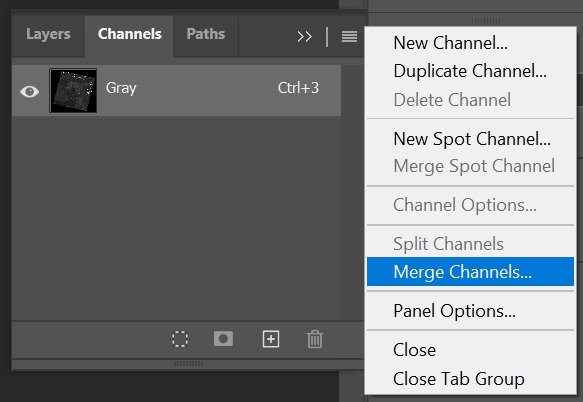
Click on the four horizontal in lines the upper right corner of the Channels window, and select Merge Channels.
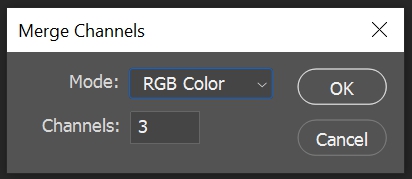
Select RGB Color for the Mode and enter 3 for the Channels.
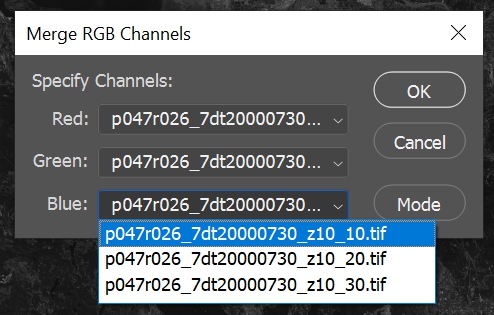
Enter the bands you wish to use for the Red, Green and Blue channels.
If you would like to create a natural color image select:
Landsat 7: Red: Band 3, Green: Band 2, Blue: Band 1
Landsat 8: Red: Band 4, Green: Band 3, Blue: Band 2
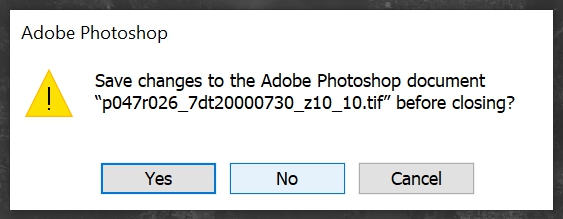
When you are asked if you wish to save changes to the original images you can select NO and the grayscale image will be deleted from your session leaving you with your new RGB image.
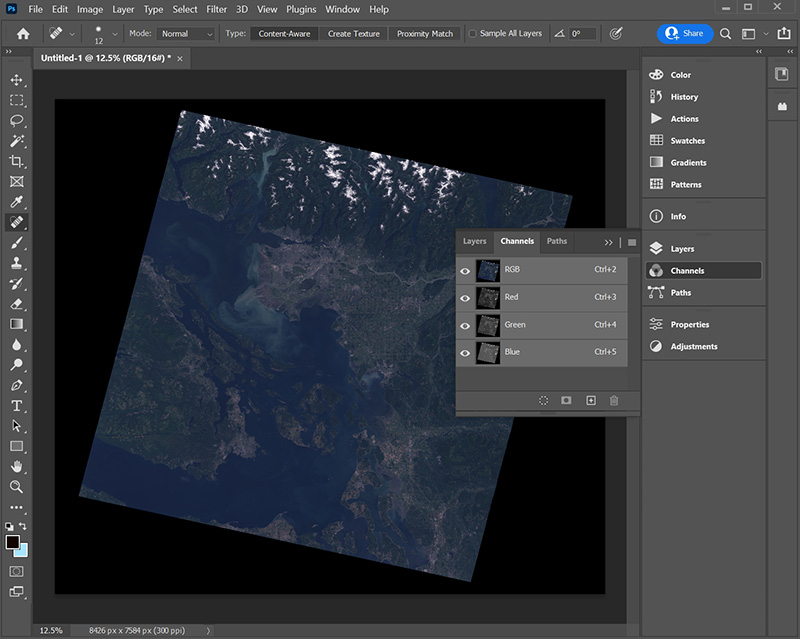
You now have an RGB 16 bit image but it will probably look quite dark so you will need to enhance it.
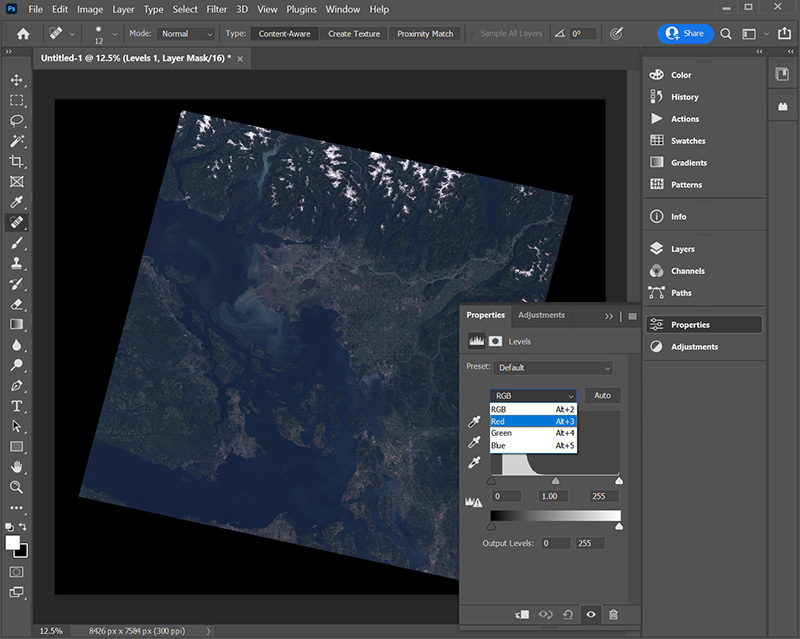
You can enhance each of the RGB channels individually by selecting the Properties tool (found on the right side of the application).
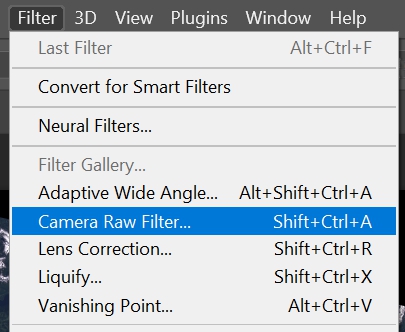
You can also open the RGB image in Camera Raw and apply some enhancements (Filters / Camera Raw Filter).
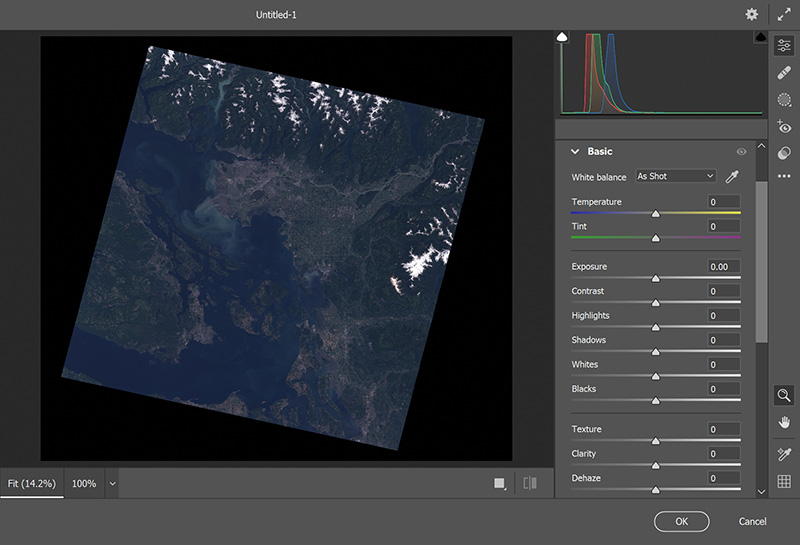
Unenhanced RGB image in Camera Raw.
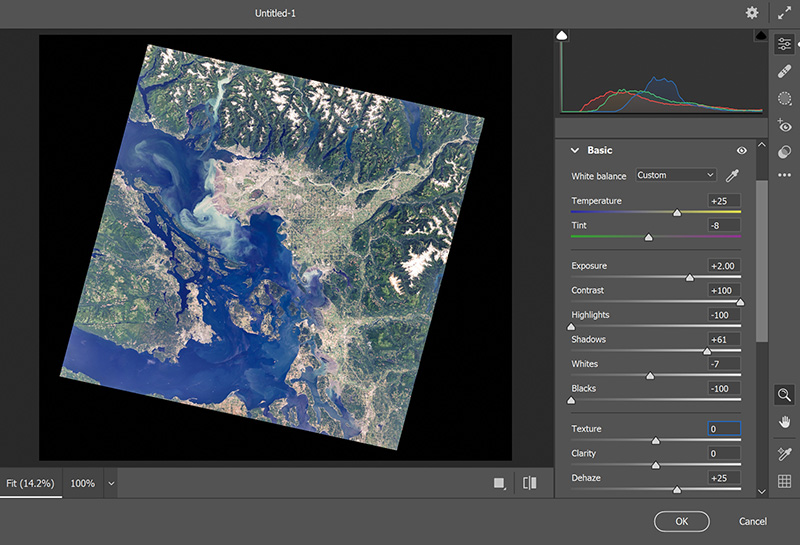
RGB image after some enhancements have been applied.
Every image will require different amounts of adjustments so these values may not be appropriate for your image.
After saving your Camera Raw enhancements (by clicking OK) you will return to Photoshop.
Or you can convert it to an 8 bit per channel image (Image / Mode / 8 bit per channel) and save it as a .JPG image.
When you downloaded your satellite images you will also have received a metadata file. This file will tell you the UTM coordinates for the upper left pixel of the image, the size of each pixel and the UTM Zone for the image.
Ground length of each pixel in the X axis (in meters)
Here is an example of the contents of the file for the image we just processed.
Pixel Rotation (this will be 0 unless you have rotated the image)
Pixel Rotation (this will be 0 unless you have rotated the image)
Ground length of each pixel in the Y axis (usually the same as the X length but it will be negative)
UTM Easting coordinate for the top left pixel
UTM Northing coordinate for the top left pixel
30
0
0
-30
443910
5521470
Return to Paul Illsley's home page